Sunday, March 13, 2011

My Craigslist Steal

I am always so jealous when I see people go "oh I found this giant piece of furniture on Craigslist for $1 and I transformed it into the centerpiece of my house"... because that never happens to me. Everything around here on Craigslist is 99% of the time a rip off. So when I found a nighstand for $10, a day after ours literally fell apart, I was shocked, and grabbed that bad boy up.

Here he is... ahem.. feel free to ignore anything you see in the background there... in my defense the garage is sooo not my territory!

I kinda wished I could cut the designs out of the corners because I wasn't crazy about them, but I wasn't brave enough to try, so I left them as is.

See that handle? Would have been nice to remove it, but it was sealed with two nails that were not moving for anyone... you'll notice my paint marks later... OH WELL!

30 minutes of sanding and about 600 coats of paint later.....

Like the paint on the handle? sigh.

I debated about scuffing it up to 'antique' it but with nothing else in my room like that, I was afraid it would just look beat up. I figured I could always do it later, so I left it alone.


Yay for Craigslist Deals!

Thursday, March 3, 2011

Girl's room re-do

We live in a tiny house. like 960 square feet kind of tiny.   So, it seemed like a smart space saving solution 2 years ago to get the girls bunk beds.  They had actually been begging for a while but there is a certain lil' clutzy red head I didn't trust to not jump from the top.  So we waited until we could scare her enough about it she was mature enough to know better.  I was disappointed to see a lot of the sets at Target, Walmart and even Ikea seemed kinda flimsy.... it just didn't seem like a good recipe with these daredevil children.  So when I spotted a set on Craigslist where the owner boasted is 220lb son launches himself onto these on a regular basis I was sold... I went with practicality over beauty and the girls got this bad boy:

Sooooo dark. But they served their purpose and the girls were excited.  Note the "Princess Purple" walls they were SO excited to paint.   Anywho.  The honeymoon ended a year later when no one wanted to deal with being on top bunk anymore.  But alas, we had filled the room no longer needing space for 2 beds.  So we deterred them for as long as possible before they practically went on strike a few weeks ago.  Here's what the rest of the room looked like.  This was an old picture.  That small chest has been removed and a bookshelf PACKED with books is in it's place.
It really wasn't that great, but it worked.  Anyway, we set out for a plan to change up what we could.  Jack has a tall white dresser, and we knew we'd need something skinnier than what they had now, so my plan was to swap out dressers.  Wow.  That is a COMPLETE pain in the neck. Clothes. Everywhere.  But, we got it done.  We took down the beds, got them some bulletin boards and.....

Tada!  Yes, they have 1.5 million stuffed animals. 

Hi Gismo.
Side note:  Thank GOD I am taking a photography class so I can learn how to take pictures LOL.

It's really nothing major but the gasps and awwws, and the girls wanting to go to bed at 6:45 to be in their room pleased me enough. 

While I was sitting in their room completely taken apart I wished I thought it thru a bit more before I started because I would have painted.  The purple is cute, but nothing matches!  The girls want to make new duvet covers, and add curtains and such and there is no way to match both their personalities, and that paint color. 

I am looking forward to all the little things we'll be doing now... like I said, new beds, Josh is going to build something (Just dicovered ana-white.com... where have you been my whole life?!) and all the little accessories.  I'll post pics as we actually get stuff done over the next few weeks.

Sunday, February 27, 2011

Old School Silhouettes


In my many adventures getting lost in blog land I've seen the classic silhouette pictures (that admittedly sometimes look creepy) come back around again. The girls are growing so fast, I'm always interested in ways to preserve their cute tiny little girlness while we can! So I thought this would be a fun rainy day project to try this weekend. (ended up being the only area in SoCal to have clear sunny skies this weekend!)

This was so super easy. I took pictures of the girl's profiles, and printed them out on cardstock. I carefully cut them out with an exacto knife, and painted the paper black. I found some cute scrapbook paper at Michael's to use as a background, and framed the whole thing. I had the oval frames already.

Whatdya' think?? The girls loved it!
P.S. Thats Kali up at the top, and Kenzie down here below.


Cost break down:  Frames, already had but saw at Walmart for $4 each
Carstock at Michaels:  $1.50
Scrapbook paper for background:  $2
Paint: on hand

Sunday, February 20, 2011

St Patty's Day Burlap Decoration

I have seen different variations of these burlap signs for a while and have been wanting to try one.  When I happened to see a frame I knew would be a perfect size, I finally went for it. 

I don't have any St. Patrick's Day decorations really so I thought this was a good holiday to start with.  I found a font I liked and printed out the word "lucky".  Then I sat for what felt like an eternity and painstakingly used an exacto knife to cut out a stencil.  You can be pretty certain a few muttered comments about how a Cricut (or as Josh calls it, a Grasshopper) would have made this MUCH easier, and nicer!

After I (finally) cut it all out, I just used it as a stencil and painted away.  It's not perfect, but I like it that way.  Once it was dry, I used some dark green cardstock for the back, secured it with some brads, and there you have it!

Monday, February 14, 2011

Necklace Holder

So… Ok. I really need to get better about taking pictures. Phew. We got that out of the way.


A few weeks (ok like several) ago Katie (sister) challenged me with a craft project. She needed a necklace holder. I immediately had a few ideas.I ended up going with a necklace/earring combo. I started with a 12 inch square frame I had for a project that never happened, and painted that brown.


 Next I went to Joanns and got this fabric… I looooove this fabric and can’t wait to find an excuse to use it somewhere in my house. The only downside was choosing a fabric with a symmetric pattern kinda backfired. I can tell it’s not lined up just right. Anyway, I lined it with some quilters batting, then hot glued it all to the back of the cardboard that came in the frame.


The last thing I did was drill have Josh drill holes so I could screw in some hooks, and I was good to go!


Yep. That’s a pic in my bathroom. Sigh.  Katie swears she loves it!  Kali already asked if we could make ehr one, too. :) 


Sunday, February 13, 2011

Cute or have I been window shopping for too long?

Our kitchen is about to get some much needed TLC in the form of paint, and TONS of it.  More on that to come.  But like any normal chick, I am already thinking curtains and accessories.  The main color scheme will be white and yellow.  But the kitchen opens up into the livingroom that is more black, white and brown.  So keep that in mind when you look at this fabric sample.  Is it cute? Or do I need to walk away form fabric swatches for a while and clear my head?! 

Saturday, February 12, 2011

More Valentine's Decorations


In my defense, no I did not just do these 2 days before Valentine's Day.  We did these last weekend, I just haven't had a minute to pull pictures off my camera until now!

I have been wanting to make one of these banners since the very first day I discovered craft-blog land and fell in love.   The simpleness and kind of 'eh' -ness (even my sister said she only kinda liked it.. gotta love her honesty!) is another indicator of how not into Valentine's day I am. BUT as I said, it's not for me, its for the girls, and the gasps and awwww's I got made it totally worth doing.  So here is my nothing spectacular, but never-the-less, Valentine's banner. 

(We have the coolest huge fireplace, but I long for a mantle! This looks kinda random! lol)


I should note that the entire time I was slaving over trying to get the letters to look half way decent I was able to list off about 50 reasons to Josh as to why I need a cricut or silhouette.  He matched that with about 50 eye rolls. I'm breaking him down though, I can tell!!

I actually made the next project a few weekends ago.  I've seen different versions of these popping up in blogville... so I copied a few different variations.  I had this super duper cute red fabric on hand, and I got plant foam squares at the dollar store.  Wrap like a present, pin in place and you are good to go.  I don't have any stencils so I decided to just free-hand letters on.  The girls have had fun stacking them in different ways.  I'm tempted to make a bunch for every day decoration so they can spell out different things.  I didn't think they'd have such a good time messing with them! 

Thursday, February 3, 2011

Valentine's Day Wreath

If you know me, you know that I'm not a foofoo lovey dovey person. I call Josh by his name 90% of the time, not "babe" or "hun" or "sweetie"... our terms of endearment fall more into the category of "hey stinky" stuff like that.  What can I say, we are weird.  :)   So Valentine's Day decor is not top of my list of things to do.  However, the girls will be with us on Valentines Day, so I'm making an effort. 

I had to go to Costco Sunday night and SCHUCKS... Michael's is right next door.  So after getting the Costco trip done (ugh it was packed) I rewarded myself with a trip into Michaels.  I saw a cute heart wreath and decided to go with it and see what I came up with.

A few fabric flowers later....


The little cardboard cut out of "True Love" was also a great find at Michaels.  They had a few different v-day sayings... $1 each!  I would have probably preferred to attach a pink or red ribbon at the top but alas I didn't have any. So I decided to go with the earthy feel of the wreath and used up some left over jute I had. 

In case you are curious here is the cost breakdown:
Wreath $3.99
True Love Emblem: $1.00
I used left over fabric scraps to make the flowers, and had the jute on hand. 

Total Cost around $4.99!

Tuesday, February 1, 2011

Dresser Re-Do

Holy Cow... it has been a really long time since I blogged.  I have at least 5 projects to share, I just haven't had a minute to breathe!  Enter new job and a six month old.  Life is super crazy.   Anyway, enough excuses.

If you remember from this post Josh's sister, Jenny is having a baby.  Scratch that, HAD a baby!!  Baby Olivia was born on 1/24/11 at 2am.  She is perfect!  Roll back a few months ago, when I was looking thru Jenny's registry around the time of her shower.  She had a super cute dresser on her registry that unfortunately she didn't get.  I talked her into taking it off the registry, and letting me find one on Craigslist to refinish for her.  She ended up being more involved in that the dresser we found was closer to her (she's about an hour and a half away) so we played musical dressers in family member's cars until the dresser made its way up the coast to me.   As usual I forgot to take a picture before I started, but remembered to stop early enough and take a few shots.  It was actually in good shape except for a nick in the bottom corner, and Jenny wanted it white.  The hearts were metal pull outs that popped right out and were so simple to spray paint.

I must pause to share with you a very valuable lesson I learned about painting in the cold (even modest California cold) weather.  After I sanded the dresser (So excited that Josh decided that week to go use his X-mas Home Depot gift card to buy a sander!) I began to paint.  I knew it would take a while to dry so I would do one coat, and then come back out an hour later.   When I decided it would be the last coat, I was generous and so super careful to not leave streaks.  I practically skipped out to the garage the next morning to check things out.  Well when you put a generous coat of paint on in the winter months, it doesn't have time to dry fast enough and leaves huge nasty drip marks. SIGH.  Sand, paint, repeat. 

Anywhoooo... here is the finished product! I am so pleased with my very first furniture redo! 

This picture is from Josh's mom.  She snuck a picture of the dresser in the nursery when she stayed with Jenny for a few days. :) 


Tuesday, January 11, 2011

When crafting goes wrong.... Sigh.

I've mentioned before that one of the hurdles I got over that allowed me to enjoying crafting so much more... was realizing it doesn't have to be perfect.  Getting over that mental road block has allowed me to really get into crafting and have a lot of fun.  But sometimes, it's just a fail, and thats that!

I have been wanting to make a magnetic recipe board for a while.  I wanted to make it specifically as a gift to Pattie.  She's always talking about how she hates leaving a recipe on the counter because its never at the right angle to glance at easily.  (truth be told she's come up with a smart solution, resting the recipe card between two knobs on her upper kitchen cabinets, pretty smart!) Anyway, I started seeing lots of these popping up on blog world.. here's an example from From Glitter to GumDrops :


Cute, right?? I was kind of stumped on where to buy metal from. I mean, I know I'd go to Home Depot but I'd have to ask for help, which would mean actually finding an employee there... and thats where you loose me. 

So when I was at Michaels, with a gift card burning a hole in my pocket (Thanks Dad and Pattie!)  I stumbled on the cutest scrapbook paper. I should pause to say that with all my crafting, I've never really been inspired to make a full on scrapbook.  I dunno, just doesn't do anything for me.  There are so many options and so much potential, but all the power to you, it's not my thing.  But when I come across cute paper I have to grab it, knowing I will find a way to use it.  So as I was walking around Michaels, paper in hand, I decided to just wing it and make my own menu boards.  I quickly stumbled on a roll of magnet sheeting... magnet on one side, paintable white surface on the other. PERFECT! 

So I thought.

I started with painting my boards, and then cutting out the pieces of paper I wanted to use, and mod-poding them on. Easy enough, and it looks just like I thought it would.  But then when I open up the magnet roll, the white, paintable (a.k.a. prettier) side is not magnetic.  If I want to be able to slap a recipe card with a magnet on this I'm going to have to use the dark side.  Then I used hot glue to adhere the magnet sheet to the board, and you can see the outline of the glue thru the magnet. 


I made two, one intended to be my trial one I'd keep, and one that I planned to give to Pattie.  They now are sitting in my living room with no home, and no plans for me to use them.  I'm posting this not to show you my bad sides.. but just out of curiosity to hear what you would have tried to do differently?  Go to Home Depot and scrounge for an employee?  Do you have another idea for what might have been a better product to use?

Whatdya' think?

Friday, January 7, 2011

Jack was featured!!

My lil' man got his very own feature on my friend's blog!

I posted a picture of him on facebook this morning sporting his new superman outfit (that I LOVE!)

Not much later I was asked if it was ok if my friend stole the picture, and then I saw this!

http://www.zebraloudsounds.com/2011/01/jack-jack-is-superman.html

I just love him to pieces :)

Monday, January 3, 2011

Baby Olivia!

I have been wanting to post about this for-ev-er! But a horrible sequence of events prevented me from doing so.  I don’t think Josh’s sister, Jenny reads my blog, but… I didn’t want to take the chance.  She is due with a baby girl the end of this month.  Her baby shower was several weeks ago, but I woke up sicker than a dog the day of, and didn’t think it would be very responsible to go get a preggo lady sick!! 
So finally, I can reveal what I made.  So much of a cute gift is in the packaging. So I wanted to get a cute basket.  Her baby furniture is white, so it seemed pretty smart to spray paint the basket white.
Back Camera
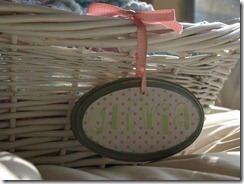
I had originally wanted to get a small chalkboard plaque to write her name on, but it wasn’t happening.  So I went to Joanns and found this cute little plaque.  Some paint, distressing, and scrapbook paper… and I ended up with this! The letters didn't show up well in any of the pictures. It's light in person too, but not this light!
olivia sign
Now to fill it!  Pattie had just showed me her first rag quilt she finished and I was in love.  I was even more excited when she told me about a baby-blanket sized pattern that was in the book she used.  She gave me the instructions and off to Joanns I went.  It was actually really easy!! 
I started with 9 fabrics: 3 darks, mediums and lights.  Sticking with a baby theme, this proved to be harder than I thought! Jenny also isn’t a foo-foo super princess-y kinda mom so I was trying to stay away from tiaras and fairies for the most part.  Once I was home, I cut all the fabric into strips (there are a million different patterns out there, so I won’t get too into the specifics on measurements.  I can send you them if you are interested!) and then you sew strips of the same fabric together, so its double sided.  Then, cut those into blocks.
PB057773
Next you sew your blocks into rows, then sew the rows together.
PB057771
The trick is you leave a 1/2 inch seam on each block.  Then when you are done, you go back and cut about every 1/4 inch on each seam (highly recommend spring loaded scissors!) … and ya, it takes forever!  Put in a movie, stretch your arms and get to work!  Then when you are done, wash, dry, and bam! its all puffy and cute!! 
I was so in love with how this turned out! The best part is, all the ruffles and fluff hide your mistakes. Smile
PC238071PC238073PC238075
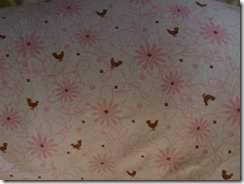
The one other thing Jenny mentioned that she needed was a new boppy cover.  She had almost all the baby essentials already from when her son was a baby… now she just needed it girly.  Just so happened I had just made a new cover for Jack’s boppy so I had the pattern ready to go.  I fell in l-o-v-e with this fabric:
PC238083
Isn’t it cute? And not princess-y at all!  This is only the 2nd time I’ve put a zipper on something (first one was Jack’s boppy!).  It’s easier than I had thought, for sure. 
PC238082
It’s definitely not perfect, but I got the fabric on sale for $2.50 a yard, you can’t beat that!
PC238084
So that’s what I made for Jenny.  I was so excited to give it to her! Here was the finished product:
PC238068
Sorry for the lame setting, I took these pictures in the hours before Christmas scramble when I knew I’d be giving her the basket and was running out of opportunities to take pictures! 
PC238070

Saturday, January 1, 2011

Christmas Gift Revealed - Monogrammed Wreath

The 3rd gift I made was for my sister, Lizzie.  I guess I lied earlier, because I was nervous to give her this, too!  But while I was disappointed in the one I gave Katie, I was super excited with out this one turned out.  I have actually wanted to do one of these for us ever since I saw it on The Bird's Papaya.  However, we don't all have the same last name yet (nudge nudge, Josh!) so alas I will have to wait. 

I knew I wanted to make something for Lizzie, but I didn't know what.  She moved into her now, husband's home, so it still is very bachelor pad-y.  She is definitely itching to add her flare.  So she told me the direction she wanted to go in was dark blues, purples and blacks, but still with a beachy feel.  For some reason, this wreath popped into my head! So I got started. 

First I got a wreath at Michaels, and spray painted it black.  I did a few coats, but didn't go nuts, I didn't mind some of the brown sneaking thru.
Next, I took a stab at making fabric flowers.  I have seen these tutorials popping up everywhere.  The basic principle can be applied.  Take a strip of fabric, tie a knot at one end, hot glue it to a piece of felt, and then twist and glue your way into a flower.  For some reason, when I was walking around Joanns, burlap kept popping into my head, so I went with it.  They are super easy to make, just be careful pushing the fabric into glue.  Hot glue gun=hot!  (DUH!)

I also made some in plain white fabric I had on hand.  To add a more beachy feel I added a shells.  The neat story behind these, is that they are actually decorations we used for Lizzie's bridal shower 2 years ago.  I had held on to them knowing I'd find a use, and well, here you go! 


Lastly, I added some ribbon to hold the C in place, and it was good to go!!  This is the picture Lizzie sent me, of the wreath hanging on her front door. I'm so thrilled she likes it!!


Another Christmas Gift - Superhero Cape!

Ok, I'm just gonna put this out there now to please excuse a)all my iphone pics, I was so lazy about getting out my camera, the only time I did was when I lost my phone for an entire day 2 days before Christmas. (I have never lost my phone before!) b) the mess in the background of all the pictures! Just keepin' it real people.

Anyway, Josh's sister, Jenny, told me that her son Kai LOVES wearing the capes they have at his school, and could I make him one?  How cute is this:  I asked Jenny what is favorite color was, and she laughed and said pink.. soooo why don't we go with red.  ha!  Now thats a cool kid.  If you know Kai, you know he's obsessed with the Disney movie, Cars.  So when I was getting the red fabric I couldn't resist sneaking in some Cars fabric for the inner lining.  I added a super hero "K" on the back for good measure. 

There are a million guides and templates online for how to make the perfect cape.  Jenny told me he's just about 3 feet tall, so I ended sizing down 1 yard of fabric to about 26 inches when it was all said and done.  Then I cut it at an angle so the top was narrowed in from the bottom.  I added a seam for a drawstring, and that was that! 


(it was laundry day, my sheets were in the wash, ha!)


I am hoping Jenny will send me a picture of him in it, if he ends up wearing it.  Kai is shy (also terrified of Josh, haha!) so he wasn't into trying it on Christmas day!

The thing I love about this too, is that I think like many people, we were on a tight Christmas budget.  For the money I spent, this means a lot more than what I could have gotten as an equivelent toy for the cost.   Here is the break down:

Cars Fabric:  $8.99 - had a 40% off coupon so the cost was $5.39
Red Fabric:  $3.99
Felt for the K $.59 (I think!)
Black Shoelaces:  $2.99
Thread - already had
Total Cost:  $12.96 (plus some tax!)

First Christmas gift, revealed! { finally! }

Wow... Dec 10th was my last post.. whoops!  I learned a valuable lesson these last few weeks.  It was Jack's first Christmas, and things were chaotic.  I had this great idea of making a handful of my gifts this year, which I am so glad that I did, I just wish I was a little more proactive about it.  We ended up having to jam pack so much in (also in prep for getting the girls xmas morning) that I didn't take a minute to just breathe.  The day after Christmas I was so disappointed in myself for missing moments I could have had with Jack, making his first Christmas special.  Josh rationalized that he's 5 months old, he doesn't know any different.. but we never even got a picture of the kids in front of the tree.  It was a valuable lesson for me to keep in mind going forward to stay true to what is important to us, and realize the rest will find its way to work itself out. 

Now that I got that off my chest, I can finally reveal a bunch of things I was working on!  I don't think anyone that I made gifts for read my blog (I only have 6 followers, lets be honest!) but I didn't want to risk it. 

I was most nervous about my gift to my oldest sister, Katie.  She moved up to Northern CA a few years ago, and I'll admit the distance makes it harder to know what to get her for a gift.  We don't have those day to day interactions where you catch her eyeing a cute top at at store, or saying she needs something for the house.   One thing I know about Katie, and her husband, Devin, is that they LOVE The Beatles.  A few months ago I stumbled on a ton of subway art ideas.  I really love the look.  One day the idea came to me to make a subway art, Beatle themed.  Then I took it one step further that I wanted the background to be a faded black and white version of the famous "Abbey Road" picture. 

Sigh, if only it was all that easy. I could give you a long winded excuse for why it went from this grand idea in my head to something of a much smaller scale... but I'll save you the details.  The bottom line is, Katie swears she loves it... I hope so!!  In our mad dash frenzy to get everything done in time, I completely forgot to take a picture! So Katie was kind enough to snap one and send it over.  Here it is:


It's mounted on a piece of MDF board, painted black.  My days with subway art definitely aren't over.  I'm on a mission now! 

Friday, December 10, 2010

Babies!

I think I've made it pretty clear how head over heels in love I am with Jack, and being a mom.  It is seriously the best thing that ever happened to me, and I LOVE talking about it!  So when my friend Michelle told me she was pregnant (while I was still prego, too) I was so excited for her.  After having Jack, I was even more excited for her.  I think she was honestly sick of me towards the end there of jumping around with excitement everytime I saw her, exclaiming "I AM SO EXCITED FOR YOU! IT'S GONNA BE SO GREAT!"... she's a good sport.

So I've been trying my best to not be a pest (haha that rhymed) and not asking her every day if shes having contractions.  So I stalked her Facebook page instead.  Ok now I just sound creepy, I wasn't sitting there hitting the refresh button all day, but I did check a few times, once I knew she was at the hospital!  Then once I knew little Emerson Rose had entered the world I literally had to sit on my hands and wait patiently before writing to her to ask when I could come visit.   2 days after she was born I couldn't resist and my fingers feverishly sent her a text, and we set up a time that was good for her. 

Of course I couldn't go empty handed, so I made a little something.  I started with a mish mash of goodies from my craft supply:

 And added some decals from this project... and made this!

I left the hair and eye color blank because I wanted to wait until I saw her and could be sure!

She is just precious and I am so thrilled to see my friend have that mom-glow that I promised her was on it's way and made all that end-of-pregnancy-awfullness worth it! Welcome to the world, little Emerson Rose!

Tuesday, December 7, 2010

Glass Magnets


As soon as I saw this idea on Christina's Adventures I couldn't wait to go get the supplies and try it out.   I was telling my sister, Amy, about it and she wanted to give it a shot, too.  So Sunday afternoon we set off for supplies and got to work.  As usual I forgot to take pictures as we went... and I feel even more silly because I had an extra set of hands, so taking pictures would have been a sinch!  Oh well! We varied from Christina's suggestions a little here and there.

Here is what we did:

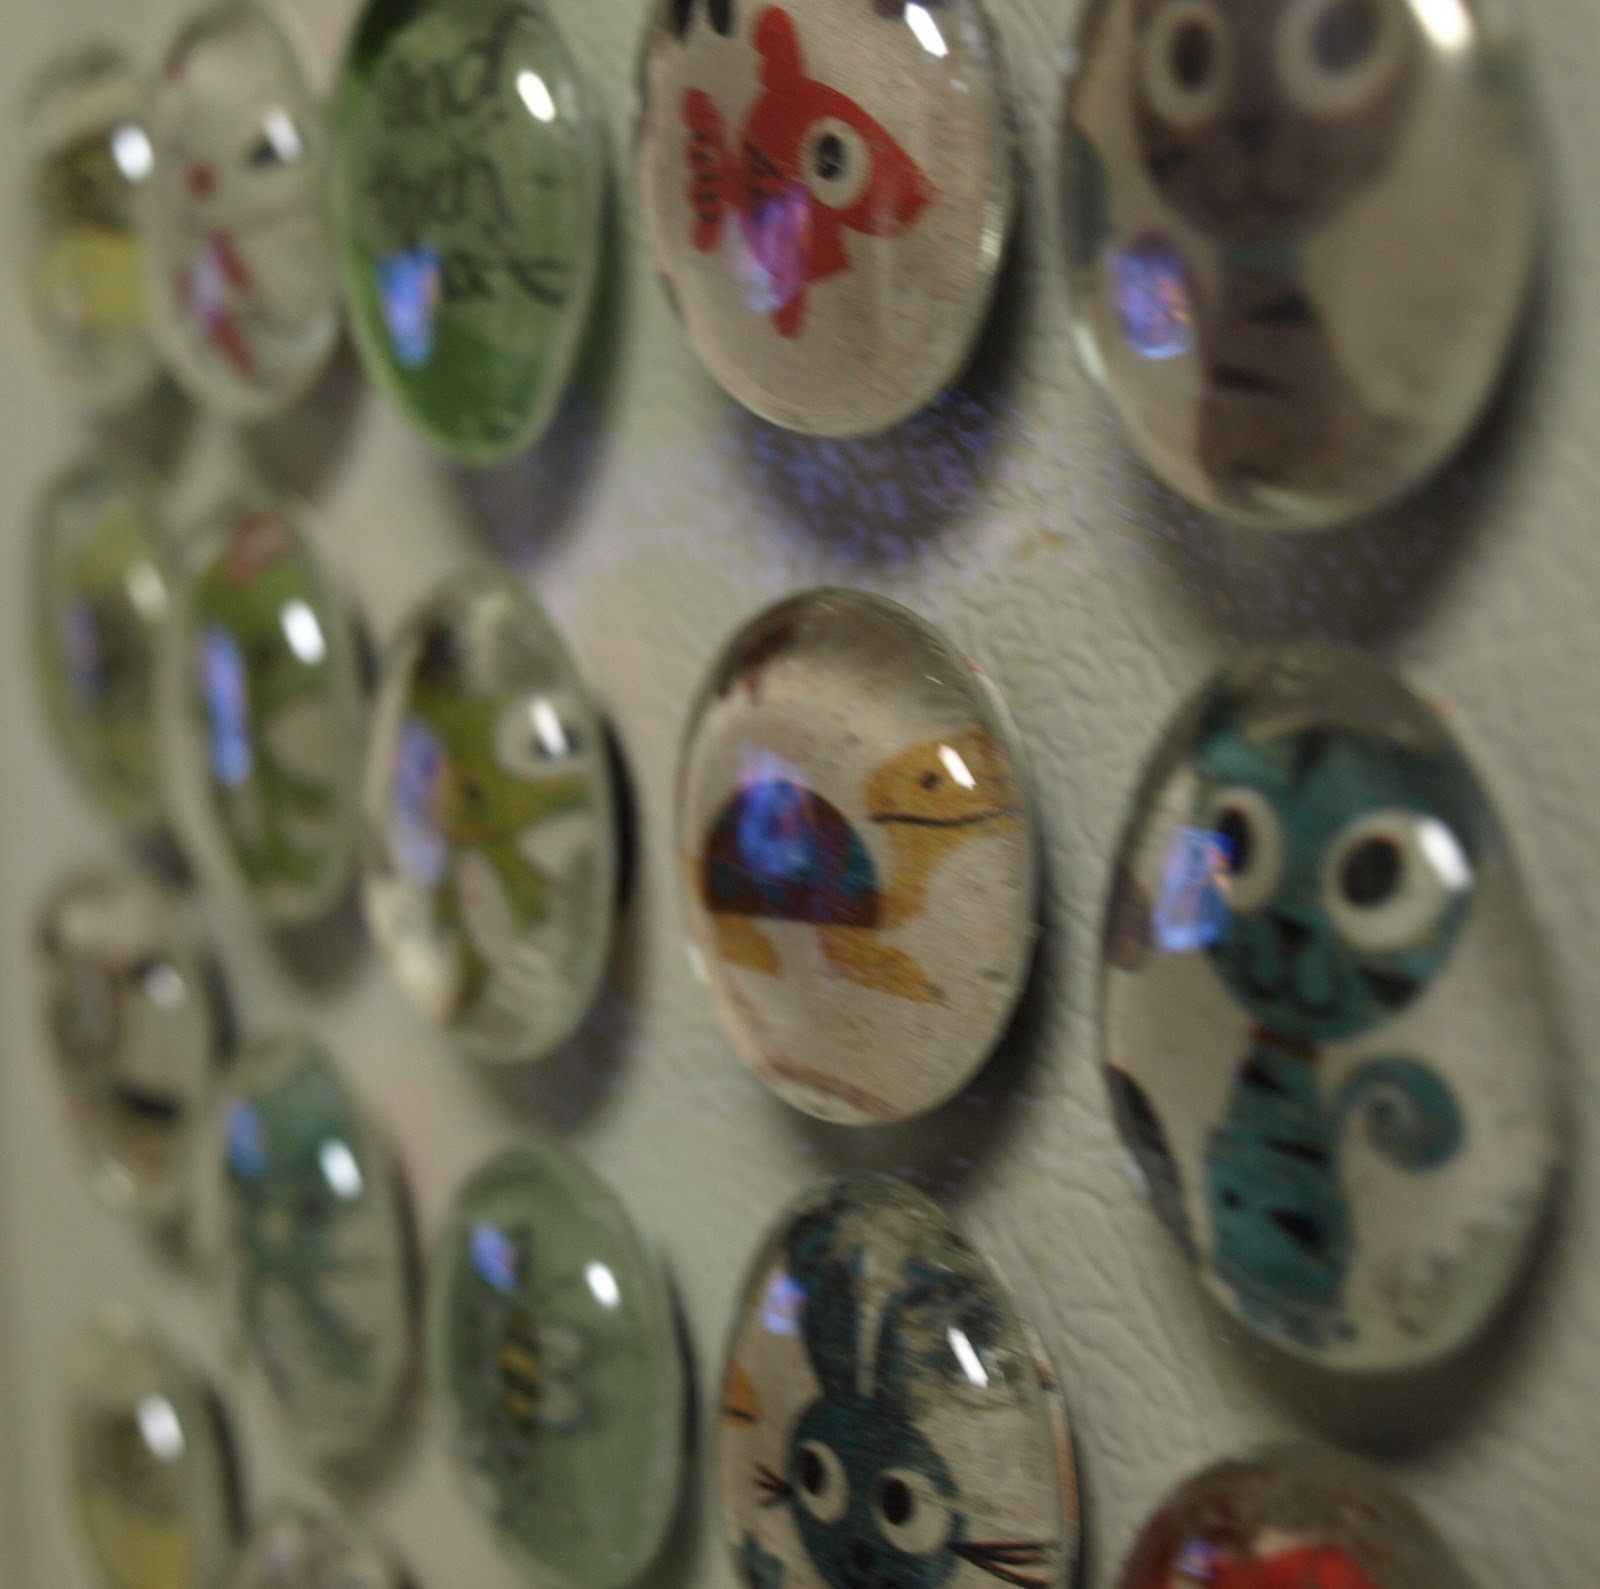
We decided on a portion of the scrap book paper we wanted to use and cut out a piece a little bigger than the stones.  Then we mod podged the stone, slid the paper on to where we wanted it to show thru and let them dry.  Once they were dry we carefully cut the excess paper off (easier than you think) and hot glued a magnet to the back.  We saved that part for the end and did all the magnets at once, placing a heavy book on top while they set.  Christina used gorilla glue.. which I've never used before.  I'm guessing it's more heavy duty, so if you are worried about them separating, you may want to use that instead.  We decided to take a walk on the wild side and risk it. 

Aren't they cute?  Like typical girls, I was jealous of the cute cartoon character ones Amy did, and she liked the way mine looked. 


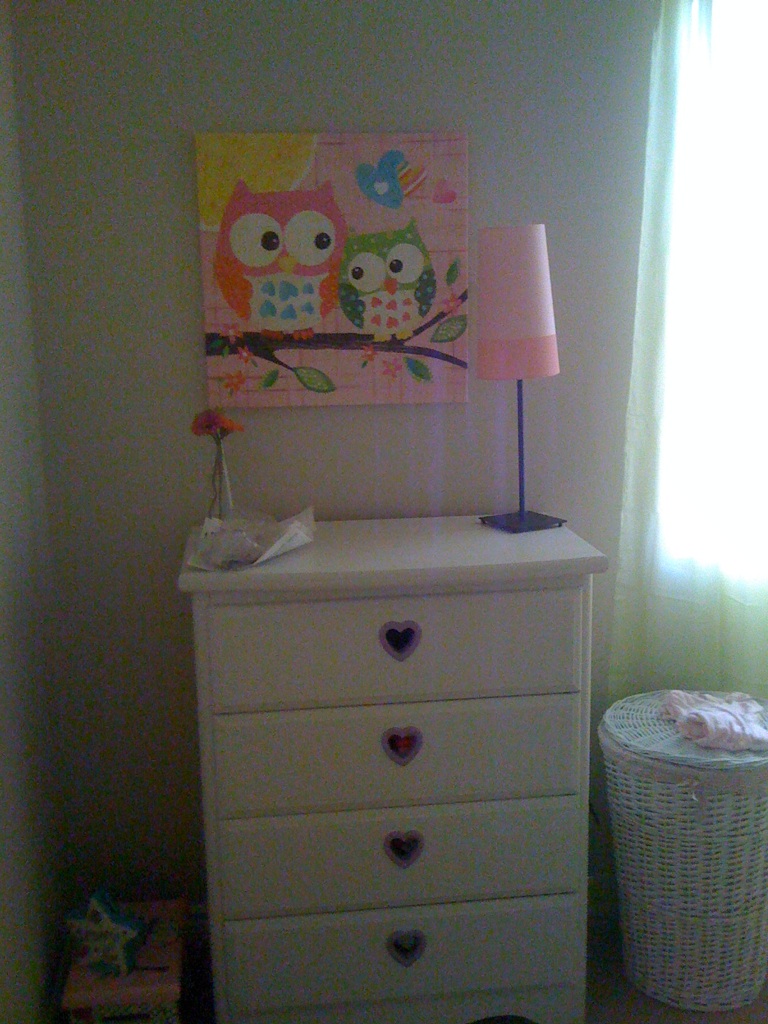
Brittany, I put this picture in just for you, see the owls????

This was way fun, and way easy!  I think these will be great office xmas presents considering I just joined a new group and don't know anyone.  Who doesn't use magnets?   Plus it was so fun to have someone to craft with.  Not that I don't appreciate Josh pretending like he is as excited about something as I am when it comes to crafts... but having someone to chat with and get new ideas from was nice!